Well, they bored INTO my hip bone....but, no, I didn't break it. I did, however, break a bunch of ribs, a few spurious vertebra components, a collarbone and a 10mm compression and 15 degree forward tilt burst fracture of the L3 vertebra. Surgery was done to fuse the L2,3,4 with a bone graft from my hip, and a titanium bridge. I don't recommend it. (the situation, not the surgery...)
(And sorry to junk up your cool thread Ron! The full story is here:
http://www.roadraceautox.com/showthread.php?t=39174 )
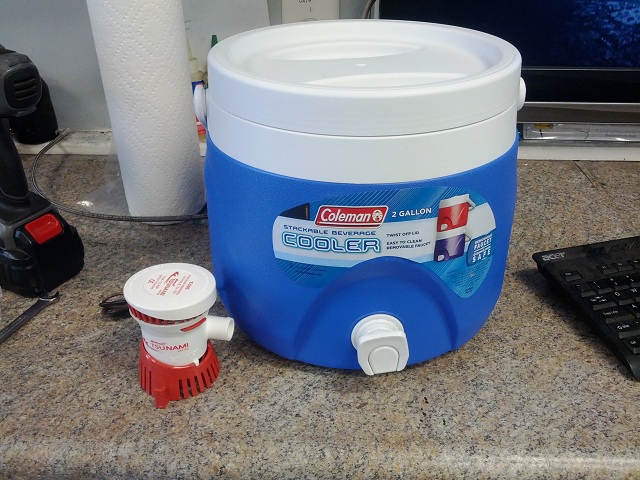
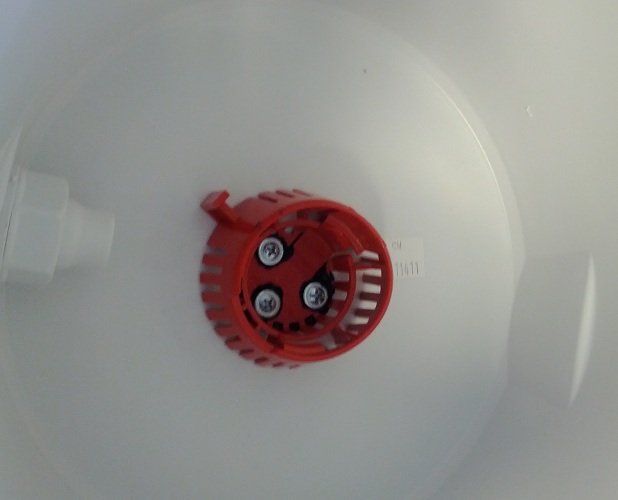
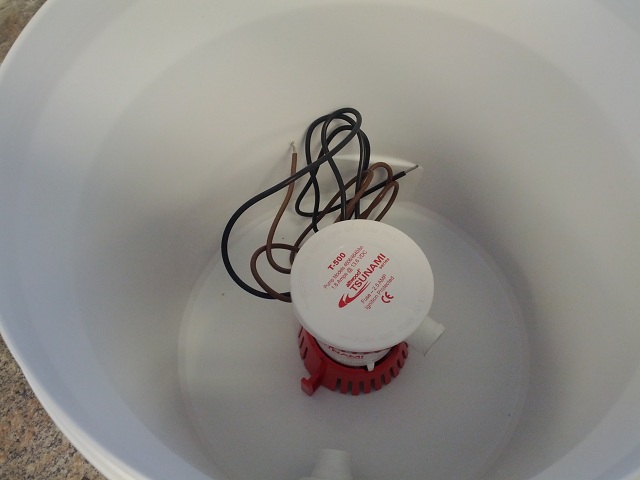
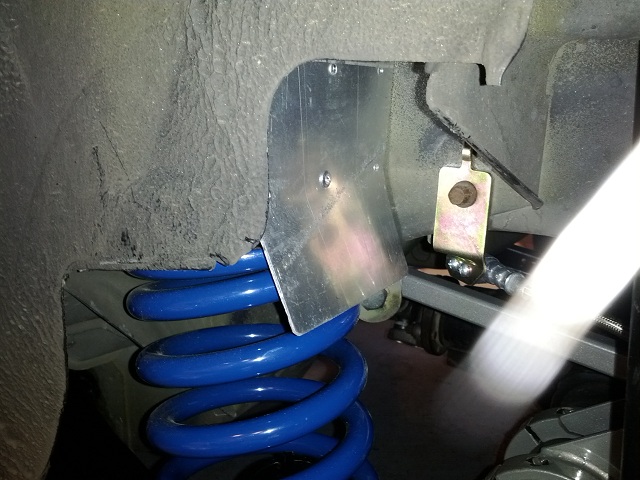
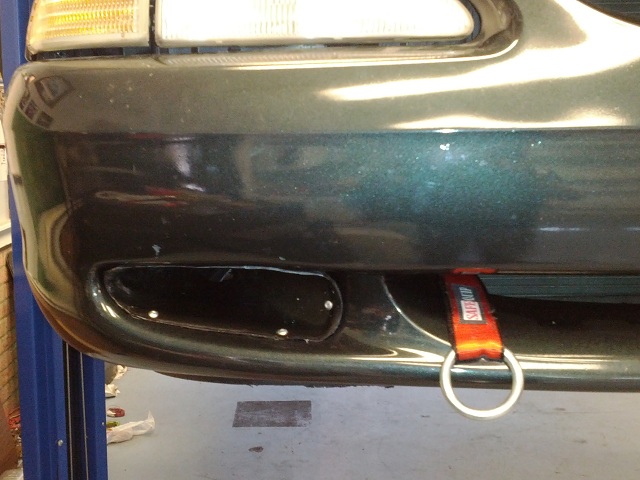
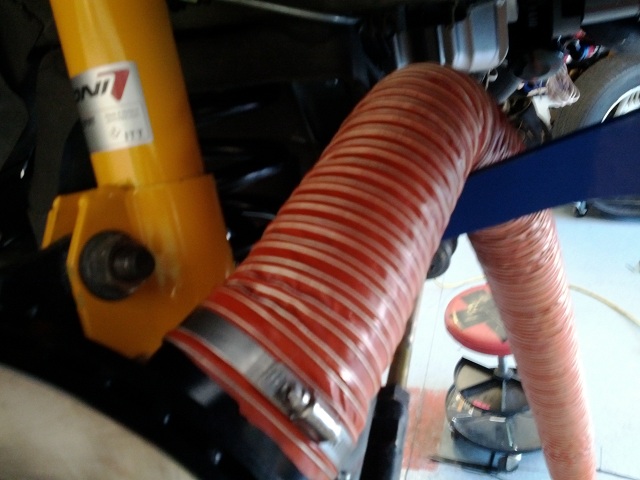
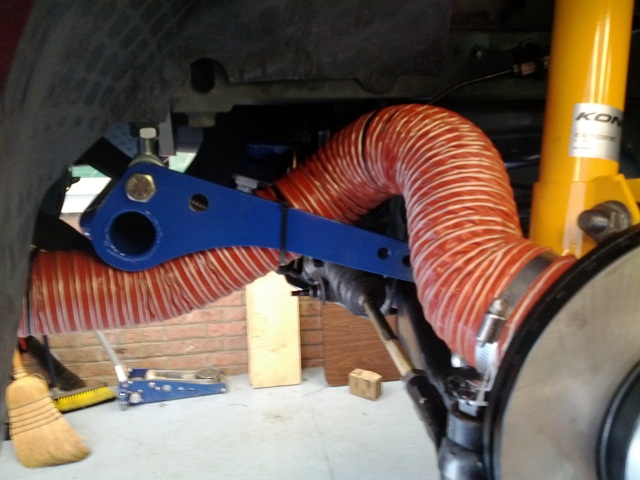
So, back on topic Ron, the cooler thing looks cool. ANy shots of those dry breaks?


 Reply With Quote


Bookmarks