


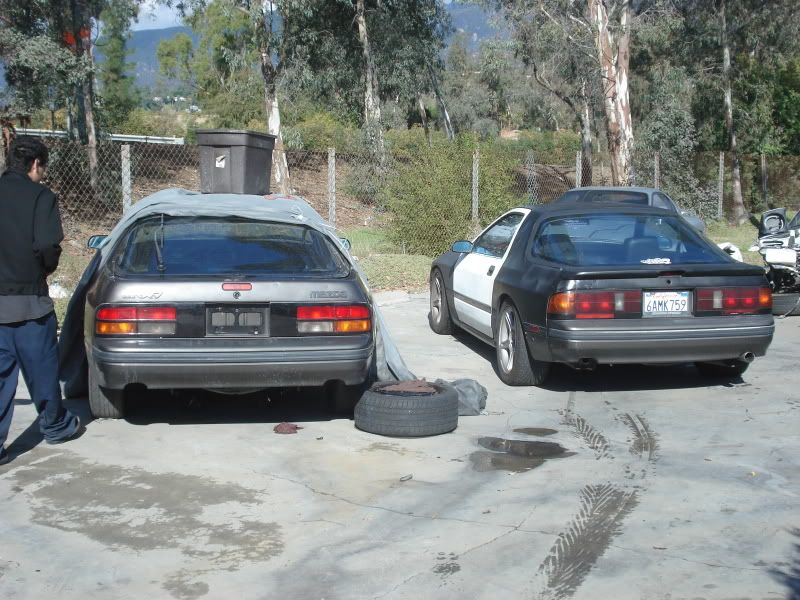
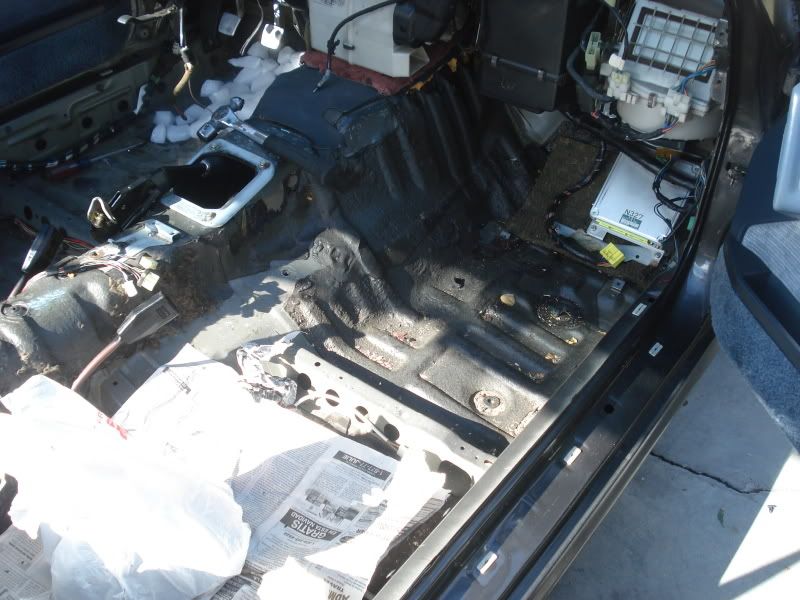
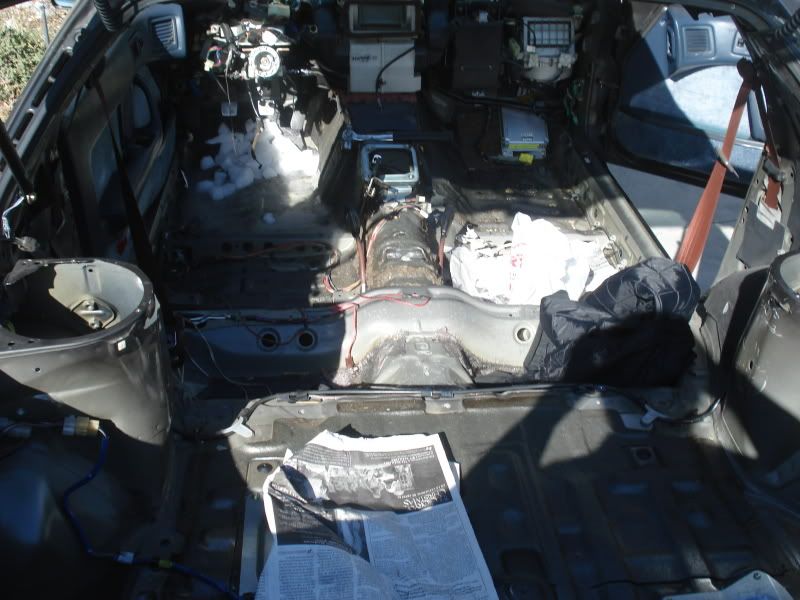
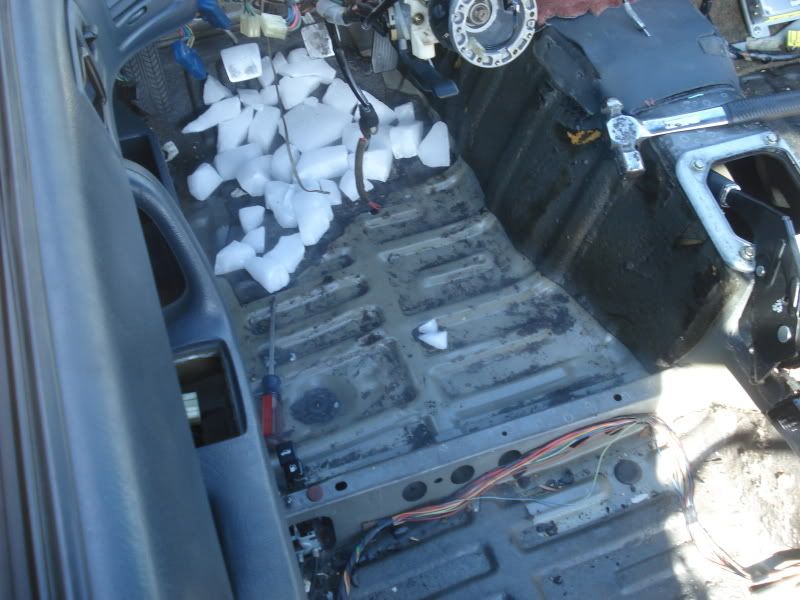
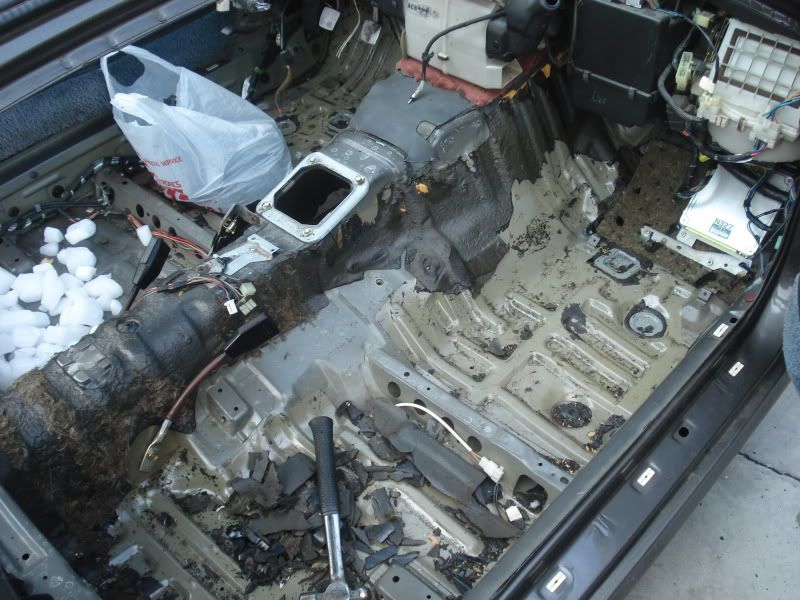
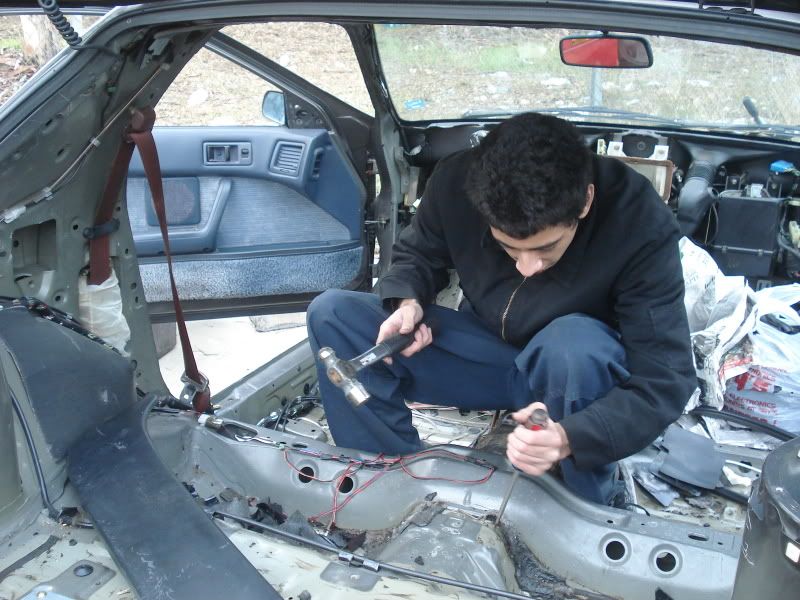
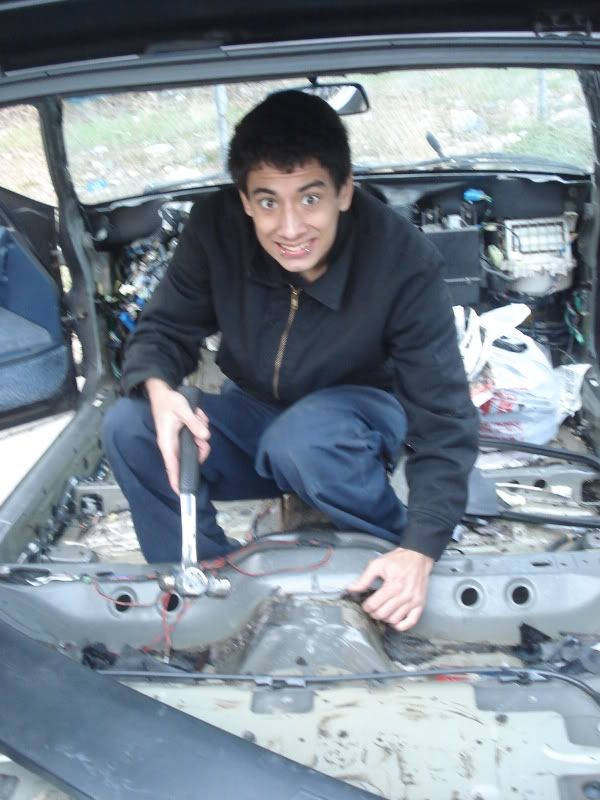
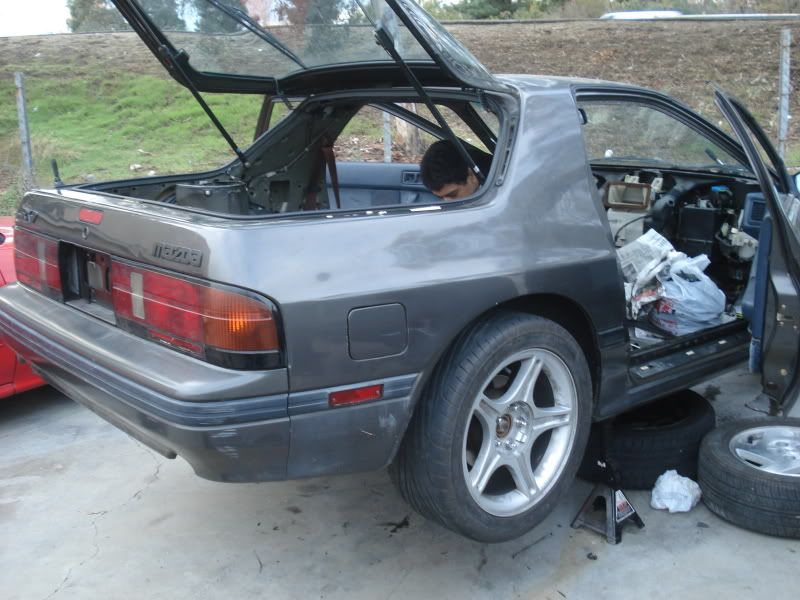
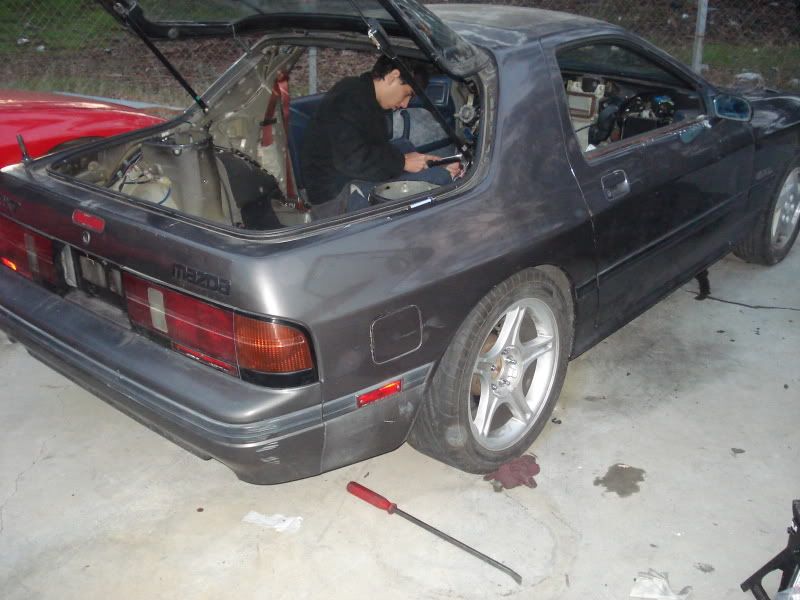
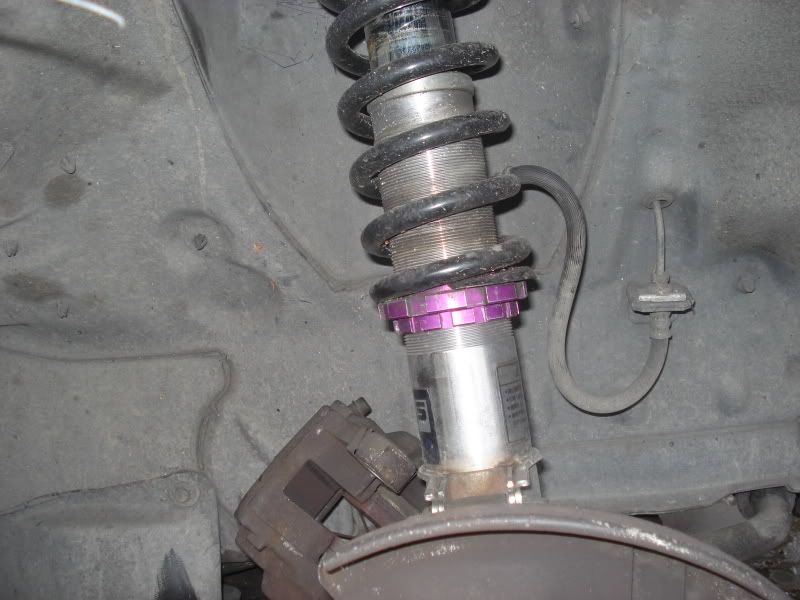
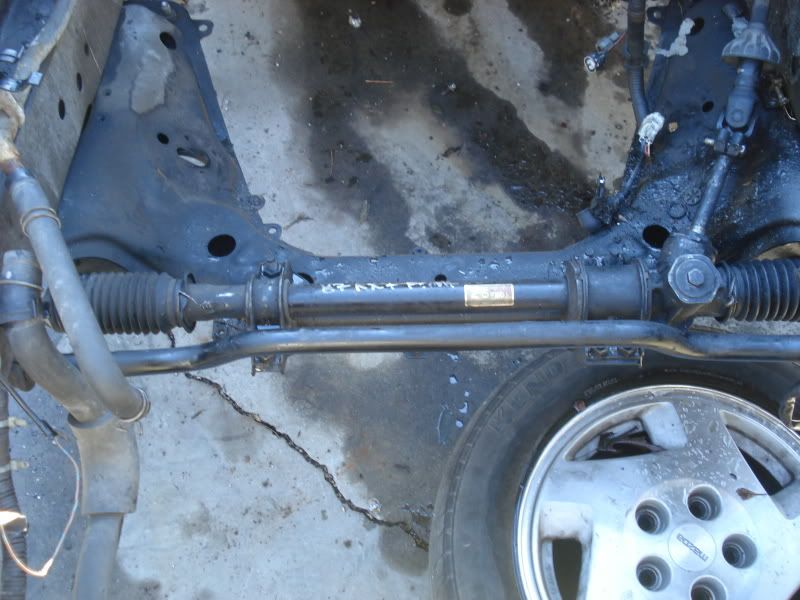
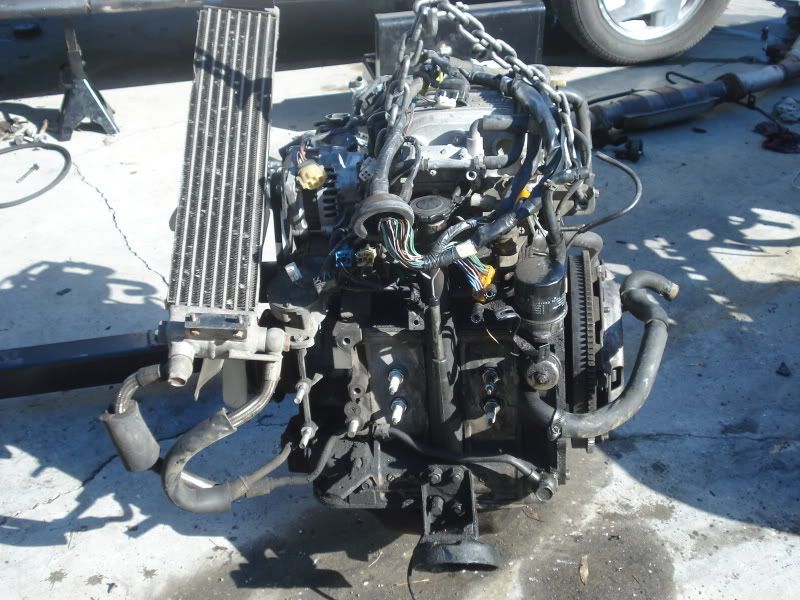
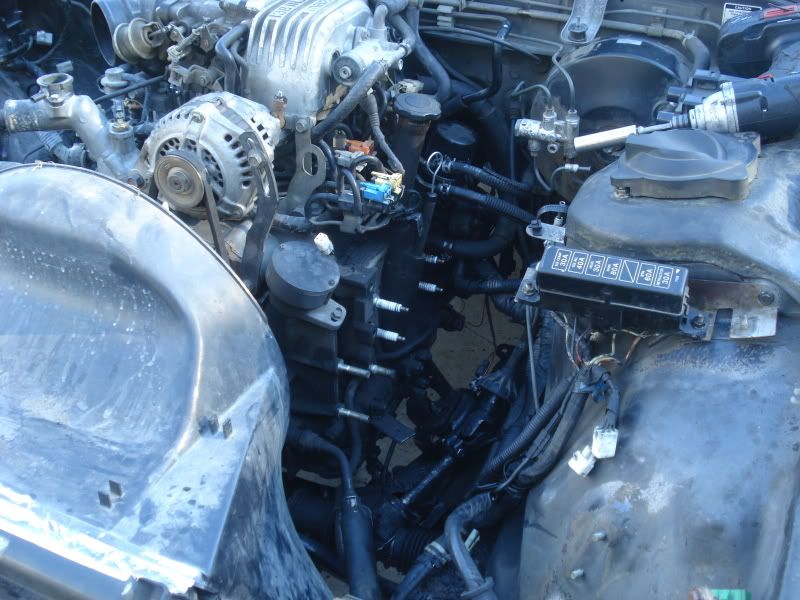
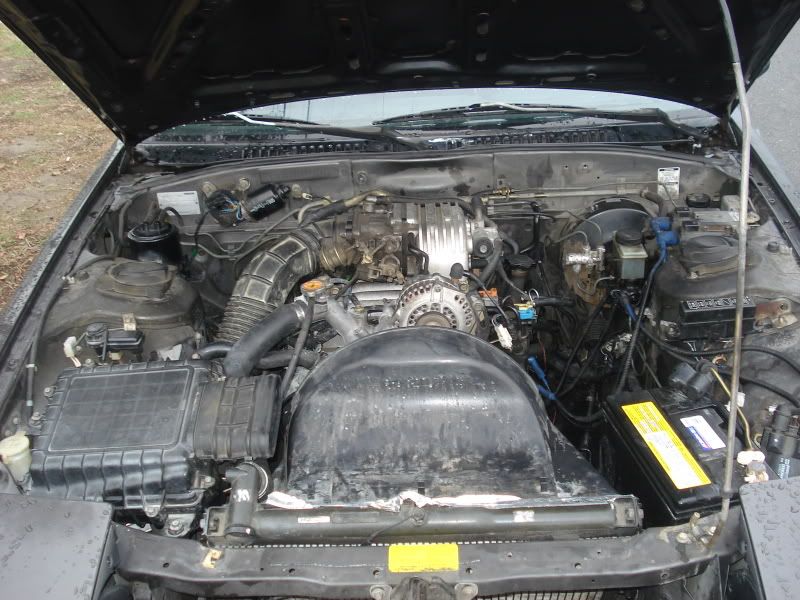
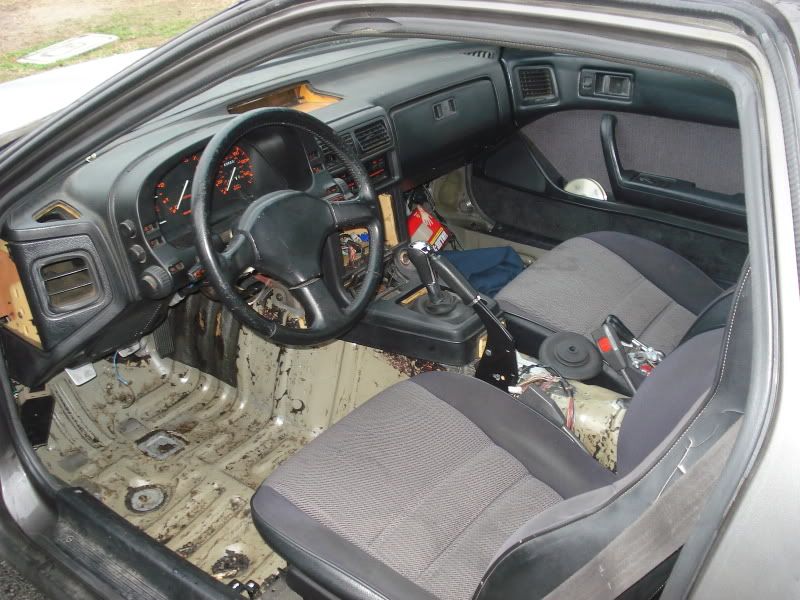
first off as the title says i'm going to start building my 2nd gen into a SCCA ITS car...this project will probably take some time to finish becuz i dont have to much free time at the moment but hopefully i will have the roll cage and all safety equipment in by feb 20 so that i can go to driving school to get my SCCA regional license... i bought a '88 shell and im in the process of transferring my engine, tranny, suspension and diff from my '86 gxl..the reason for this is my '86 was originally an auto and i had made a custom trans mount to convert it to a manual trans (that is against the rules) so far today my friends jesse (rotaryguy007), johnny and i start by removing the sound deadening (as much as possible with the amount of dry ice that i bought)...we also transferred the diff and put my rear coilovers on (HKS Hiper d) i completely forgot about the camera at the time so no pics of that :dammit: ..here are a few pics that i did take
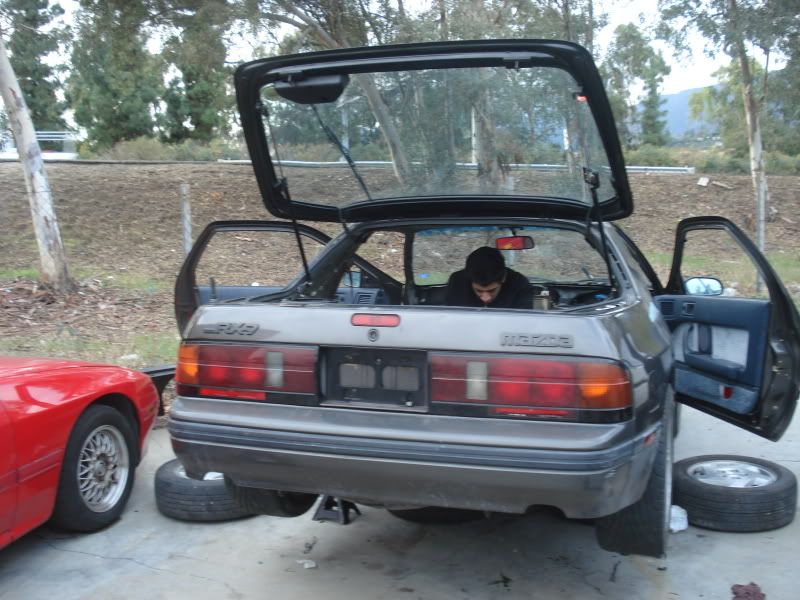
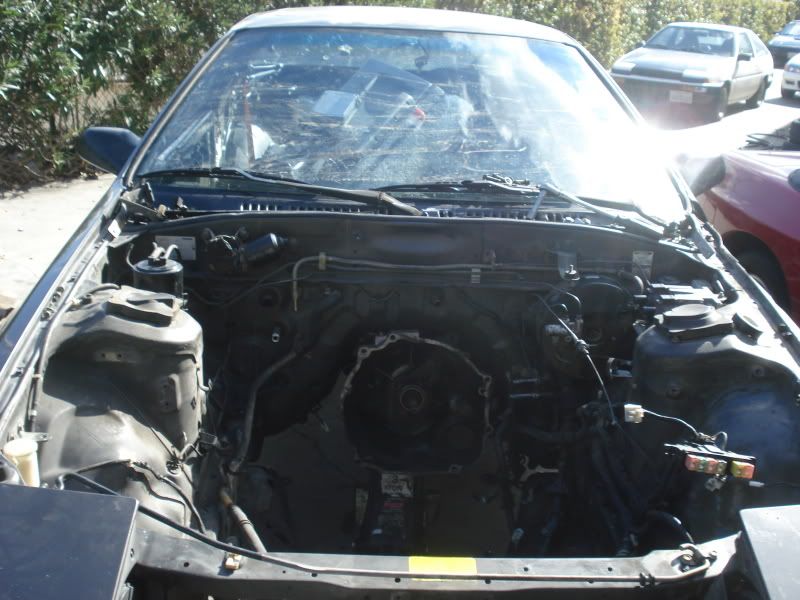
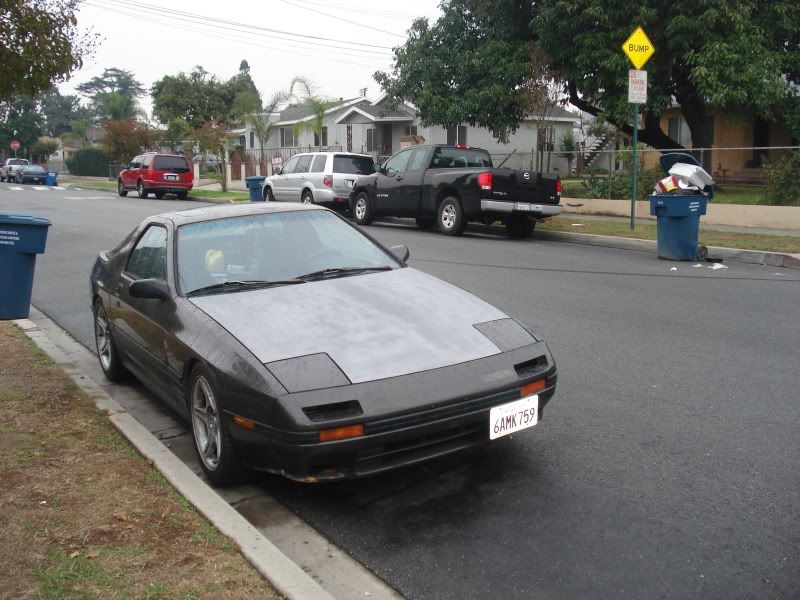
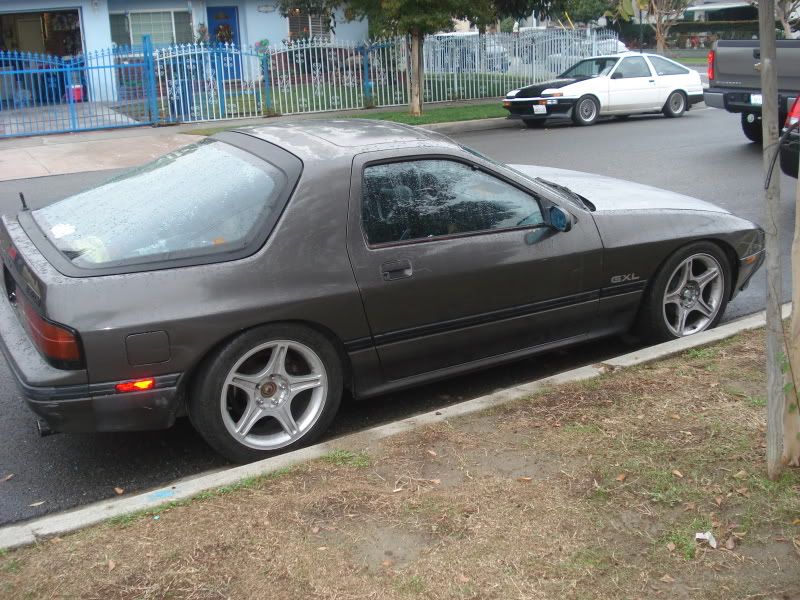
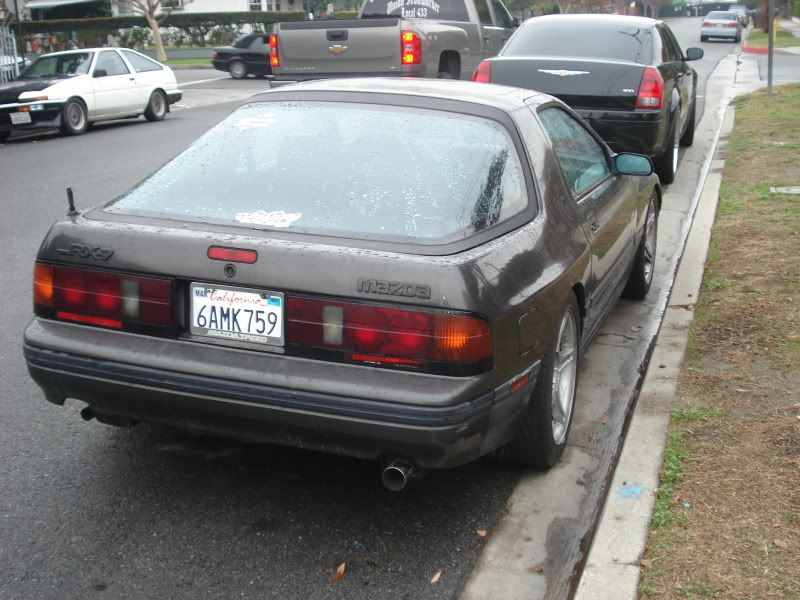
here is the donor car

 Reply With Quote
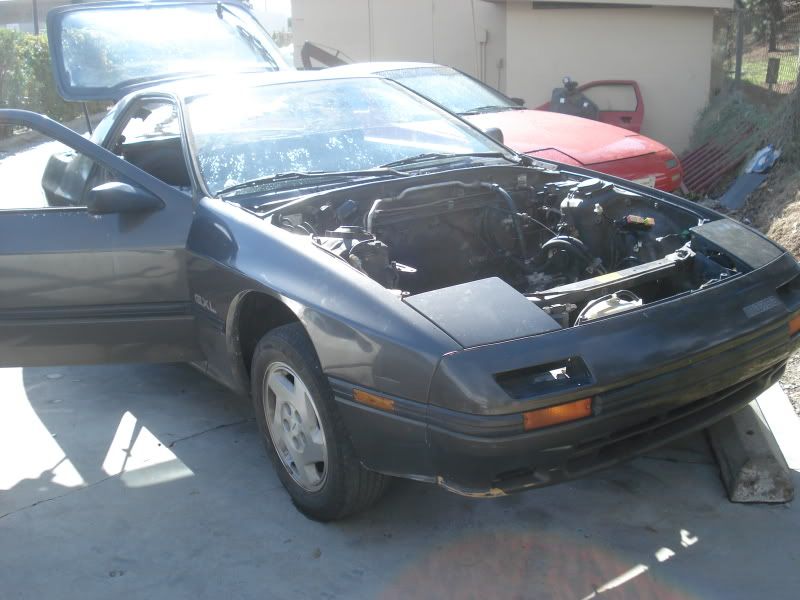


Bookmarks